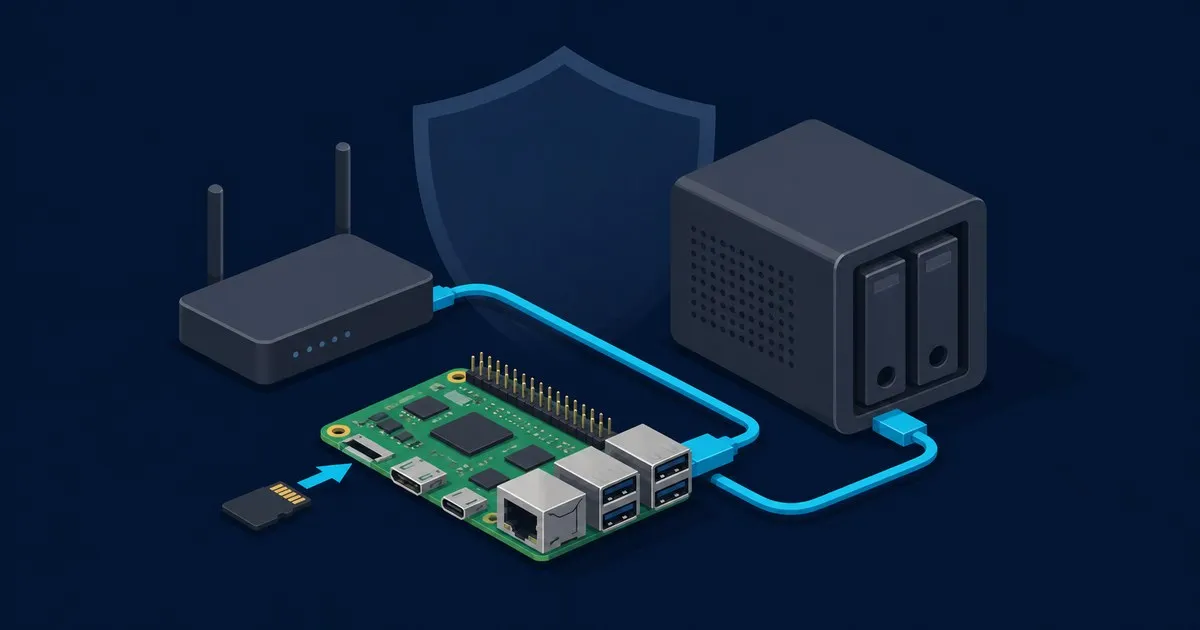
How to Install OpenMediaVault 8 on Raspberry Pi
Install OpenMediaVault 8 on a Raspberry Pi using Raspberry Pi OS Lite, wired networking, USB storage, SMB shares, backups, and secure remote access.
If you need to know how to install openmediavault on raspberry pi, the reliable route is Raspberry Pi OS Lite 64-bit, wired Ethernet, and the maintained OMV-Extras installer. The current script installs OpenMediaVault 8 on Debian 13 “Trixie”; older guides describe OMV 6 or 7, turning a NAS project into archaeology.
Who this is for, and who should skip it
This is a good fit for a Raspberry Pi 4 or 5 serving documents, backups, and media to a few home users. You should be comfortable with SSH, know that formatting a disk erases it, and have a separate USB HDD or SSD for data.
Skip it if you need several drives, ZFS RAIDZ, fast transcoding, or business-critical uptime. An N100 box or Synology costs more but removes USB-storage and power quirks. Also skip the desktop image: OpenMediaVault rejects installation when it detects a graphical desktop.
Hardware that works
| Hardware | Practical verdict | Quirk to know |
|---|---|---|
| Raspberry Pi 5, 4GB or more | Best Pi choice | Use active cooling and the recommended 5V/5A supply; a weaker supply restricts power available to USB disks. |
| Raspberry Pi 4, 2GB or more | Best value if already owned | Its Gigabit Ethernet and two USB 3.0 ports are enough for a modest NAS. Use a proper 5V/3A supply. |
| Raspberry Pi 3B/3B+ | Supported, but a compromise | It runs the required 64-bit OS, but older networking and USB make it the “use what is in the drawer” option. |
Add a genuine microSD card for the OS, an Ethernet cable, and a USB 3 data drive. The OMV-Extras guide supports Pi 3B and newer and calls for Raspberry Pi OS Lite 64-bit plus wired Internet. Raspberry Pi recommends at least 8GB for the Lite image and lists the correct power supplies for each board. A 16GB-or-larger card leaves sensible working room. For a spinning disk, use an enclosure with its own power; Raspberry Pi warns that hard drives can fail intermittently without a powered hub or enclosure.
The stack: install OMV 8 on Raspberry Pi OS
There is no docker-compose file here. OMV manages the host’s network, NGINX, filesystems, and SMB service directly, so putting the NAS control plane in a container is unsupported and buys mostly complexity.
In Raspberry Pi Imager, choose your board, then Raspberry Pi OS (other) > Raspberry Pi OS Lite (64-bit). Confirm that it says Debian 13/Trixie, not Legacy/Bookworm. In Customisation:
- Set a hostname such as
omv-pi, a non-default user, a strong password, and your locale. - Enable SSH, preferably with a public key.
- Leave Wi-Fi unconfigured and connect Ethernet. The current OMV-Extras Raspberry Pi guide explicitly delays Wi-Fi setup until after OMV controls networking.
- Write and verify the card, insert it, connect Ethernet, and boot. Find its address in your router’s DHCP leases.
SSH into the Pi, update the base OS, run the documented pre-install preparation, and reboot:
ssh [email protected]
sudo apt-get update
sudo apt-get upgrade -y
wget -O - https://github.com/OpenMediaVault-Plugin-Developers/installScript/raw/master/preinstall | sudo bash
sudo reboot
Reconnect, then run the maintained installer:
ssh [email protected]
sudo wget -O - https://github.com/OpenMediaVault-Plugin-Developers/installScript/raw/master/install | sudo bash
That command pipes a mutable script into a privileged shell. It is the project’s published method, but cautious operators should download and inspect the script first. Do not close the SSH client while it runs. The installer changes networking and reboots, so a disconnect is expected; check DHCP again if the address changed.
Open http://PI_ADDRESS/ from a LAN browser. The documented first login is admin / openmediavault. Change it immediately. After confirming youruser still has SSH access, disable root login under Services > SSH.
Create the data disk and SMB share
OMV expects the system card and data disk to be separate. In the web interface:
- Open Storage > Disks and confirm the USB drive’s model and capacity. Wipe only a new or disposable disk.
- Under Storage > File Systems, create an ext4 filesystem on a blank disk, or mount an existing supported filesystem. Creating a filesystem destroys existing data; mounting does not.
- Create a normal user under Users > Users, then create a folder under Storage > Shared Folders and grant that user access.
- Enable Services > SMB/CIFS > Settings, add the shared folder under Shares, disable guest access unless you genuinely need it, and apply the yellow pending-changes banner.
From Windows, connect to \\omv-pi\sharename; from macOS or Linux, use smb://omv-pi/sharename. Reserve the Pi’s DHCP address in your router rather than hard-coding a static address in two different places. Future you will already have enough mysteries.
Common installation problems
- Installer refuses to run: verify
uname -mreportsaarch64,dpkg --print-architecturereportsarm64, and the image is Trixie Lite without a desktop. - SSH or the web UI disappears: the installer probably rebooted or changed the lease. Check the router before re-imaging anything.
- Networking is broken: attach a monitor and keyboard, sign in locally, and run
sudo omv-firstaid. - The data disk disconnects: suspect the power supply, enclosure power, USB cable, or USB-to-SATA bridge before blaming Samba.
Storage and backups
One USB disk is storage, not backup. Use a second disk or another NAS as the backup target and configure Services > Rsync > Jobs for a scheduled local or remote push; OMV supports both local jobs and remote rsync over SSH. Keep an off-site copy of irreplaceable files. Rsync can faithfully copy accidental deletions, so pair it with snapshots or versioned storage at the destination.
Also copy /etc/openmediavault/config.xml with your backups. OMV describes it as a reference for rebuilding, not a one-click restore. Once per quarter, restore a representative folder into a temporary location and open several files. A green job log proves the copy ran; a restore drill proves the backup is useful.
Networking and remote access
Keep the admin page and SMB on the LAN. Do not raw port-forward either service. For private remote access, Tailscale is the least-annoying option: install it on the Pi, join the Tailnet, and restrict access with an ACL tag; Tailscale documents NAS access over its WireGuard-based network. MagicDNS also avoids memorizing another address.
Cloudflare Tunnel is reasonable for an HTTP application behind identity checks, but it is a poor fit for ordinary SMB access. A reverse proxy with ACME, Let’s Encrypt, and a DNS-01 wildcard certificate works, but it is more machinery than this NAS needs. Raw forwarding is simpler right up until it becomes an incident.
Operations: updates, logs, and alerts
Use OMV’s Update Management page and apply updates manually after reading the package list. Watchtower and Renovate manage container images or manifests, not the Debian host, so they do not solve this job. Configure System > Notification > Settings, enable SMART monitoring where the USB bridge exposes it, and check Diagnostics > System Logs when a share disappears.
Set a recurring reminder to review updates and backup results. Tech Sentinel is useful for broader patch and vulnerability triage, but OMV’s own notifications should be the thing that tells you this specific box needs attention.
Sources
Related

OpenMediaVault Docker Compose Setup: The OMV 8 Plugin Route
OpenMediaVault Docker Compose setup on OMV 8: the omv-extras plugin, shared folder layout, Docker storage off the OS disk, a first stack and backups.

OpenMediaVault Hardware Requirements and Build Guide
What OpenMediaVault 8 needs from CPU, memory, disks and network, where the documented minimums stop being useful, and three reference builds to copy.

OpenMediaVault SMB Slow? 4 Checks Before Tuning
Seeing 11 MB/s or 40–70 MB/s? Test the network, storage, Samba and client in order to diagnose slow OpenMediaVault SMB transfers before tuning.